You do not need a separate conversion step: CleanFrame accepts HEIC and HEIF image files. Import the photo, paint over the unwanted object or text, generate a preview locally, and export the result as PNG, JPG, or WebP. HEIC is an input format, not an export option.
Start with the actual HEIC file
Copy the image file to your Windows computer before editing. Use the full photo you transferred, rather than a screenshot of its preview. If a sharing app already converted it to JPG, that file can also be imported, but it is a different source from the HEIC original.
CleanFrame supports JPG, PNG, WebP, BMP, TIFF, HEIC, and HEIF for import. Check the extension and make sure the file is available on disk. A photo that has not finished downloading or transferring is not a usable local source yet.
There is no HEIC-specific editing mode to learn. Once the image has loaded, you use the same brush workflow as for a JPG. A camera date, a small unwanted object, or an old text overlay can all be selected by painting over the visible area.
Import the photo and check its orientation
- Choose New cleanup. From Projects, open the import dialog and select the HEIC or HEIF file with Browse files. You can also drag the image into the app window.
- Wait for the full photo to appear. Confirm that it is the intended image and that a portrait shot is facing the correct way.
- Inspect what you want to remove. Look at the object's complete outline, including a visible shadow. For lettering, check faint edges and punctuation.
- Paint the selection. Adjust Brush size, zoom in when needed, and use the eraser if the selection overlaps something you want to keep.
If the photo will not open, confirm that it finished transferring and that it opens as an image in another viewer. Try selecting the file again or updating the app. Do not repeatedly overwrite the original with converted copies while diagnosing a single damaged file.
Generate a local preview and review the repaired area
Choose Magic erase with Natural fill quality as a starting point. CleanFrame processes the photo on your computer. The first cleanup after launching the app can take longer while it prepares the cleanup engine.
Use Split or Side by side to compare the result. Check for leftover object edges and whether the new background fits the surrounding scene. Detailed patterns and large objects are harder to reconstruct than a small distraction on an even background.
A result that looks soft is not necessarily a HEIC compatibility problem. Try a tighter, complete selection and compare a different quality level. The blurry removal troubleshooting guide covers the same checks for any supported image format.
Export the cleaned photo in the format you need
| Output | When to consider it | What it does not do |
|---|---|---|
| PNG | Keep a result for close inspection or further editing without adding JPEG compression. | It does not restore detail hidden by the removed object. |
| JPG | Deliver a conventional photo file to another app, website, or person. | It is a new output file, not the original HEIC container. |
| WebP | Use an image where the receiving website or app accepts WebP. | It is not an HEIC export option. |
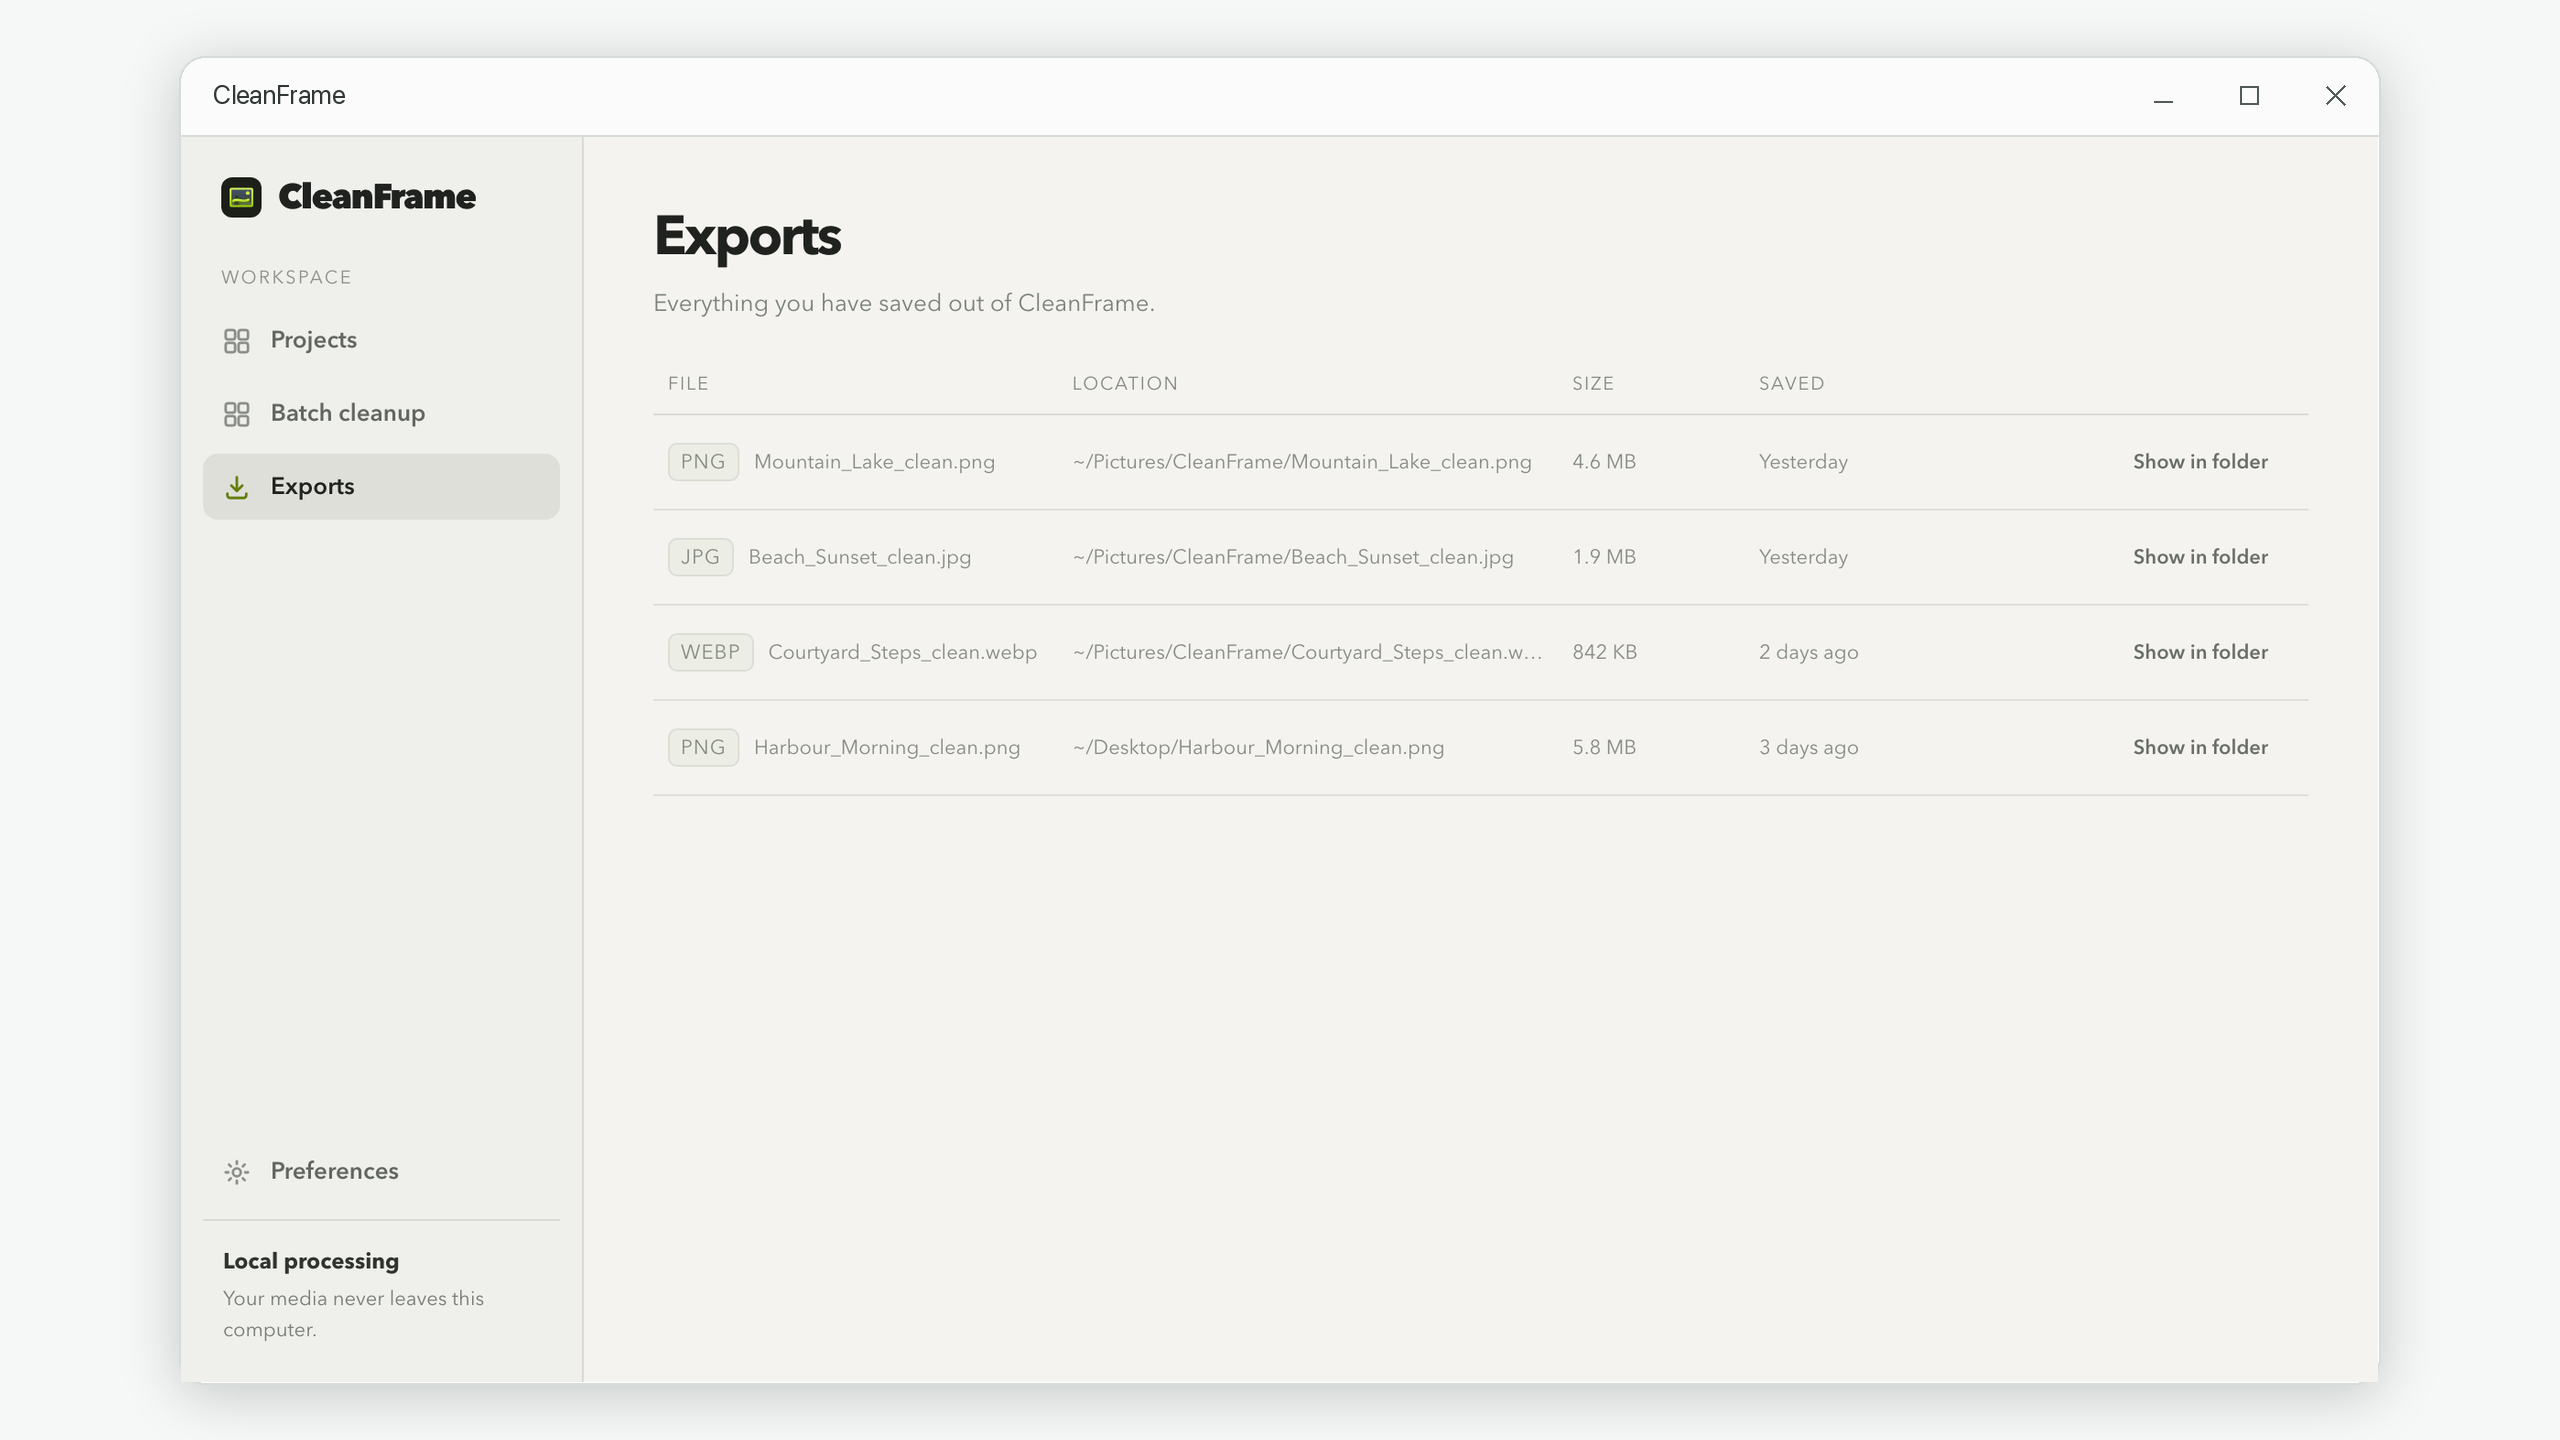
Choose Export, select the format and folder, then save. The original HEIC file is not modified. The new file contains the edited photo; do not assume it preserves all original camera metadata or any additional information stored in the source container.
Clean personal photos without uploading them
After installation from the Microsoft Store, the editing workflow works offline. You do not need to create an account or send the HEIC photo to a conversion or editing website. Keep the source and exports in folders you control.
Local editing is separate from what happens after export. If you place a file in a cloud-synced folder or share it through another app, that service may upload it. CleanFrame's local processing does not change the behavior of those other tools.
What about several HEIC photos with the same watermark?
Import the matching images together to open the batch workflow. Paint the watermark on the first image, then apply that relative selection to the rest. Group portrait and landscape photos separately, and avoid mixing crops or different watermark layouts in one batch.
The batch watermark tutorial explains how to review and export the group. If you only need to remove a visible camera date, follow the date-stamp tutorial while keeping the photo's framing.
Keep the cleanup on your computer
Brush, compare, and save a separate result with CleanFrame for Windows.
View CleanFrame in the Microsoft Store