To keep the framing: import the photo into CleanFrame, brush over the visible date and its outline, choose Magic erase, compare the repaired corner, and export a new file. This changes picture pixels; changing a file's date information is a different task.
Is the date part of the picture or just file information?
Start by opening the photo itself. If you can see the date printed across the scene in an image viewer, it is part of the image you are viewing. A camera may have added it when the picture was taken, or another app may have added it later.
If the date appears only in file properties, a gallery's information panel, or a label beside the photo, it may be metadata or an app display. Brush removal is intended for visible marks in the picture. It is not a tool for editing the date taken field or removing location metadata.
Check whether you still have a version before the stamp was added. That version preserves the actual scene. If the stamped image is your only copy, a fill can make the corner less distracting, but cannot guarantee exact recovery of the covered detail.
Prepare a copy with the best available detail
Use the largest original photo you have, rather than a screenshot of it or a copy downloaded from a messaging preview. A tiny, heavily compressed copy provides less surrounding detail to work with.
Keep the stamped original as part of your archive. It may still be useful for remembering when the photo was taken. CleanFrame imports a copy into its library and writes the result separately, so you can keep both versions.
Look closely at the stamp. Small dates often have a dark outline around bright numerals. The visible characters, punctuation, and outline all need to fall inside the selection.
Remove the date stamp in five steps
- Import the photo. Choose New cleanup from Projects and select the image, or drag it into the window. Open a single image for an individually fitted selection.
- Zoom into the corner. Make the digits large enough to see where the text ends and the background begins.
- Brush over the whole date. Reduce Brush size for a small stamp. Include separators and any outline. Leave a little margin, while keeping the selection away from nearby important detail.
- Choose Magic erase. Start with Natural fill quality. Let the app rebuild the selected part of the background.
- Compare and export. Use Split or Side by side to inspect the corner, then choose Export. Save as PNG, JPG, or WebP in the folder you select.
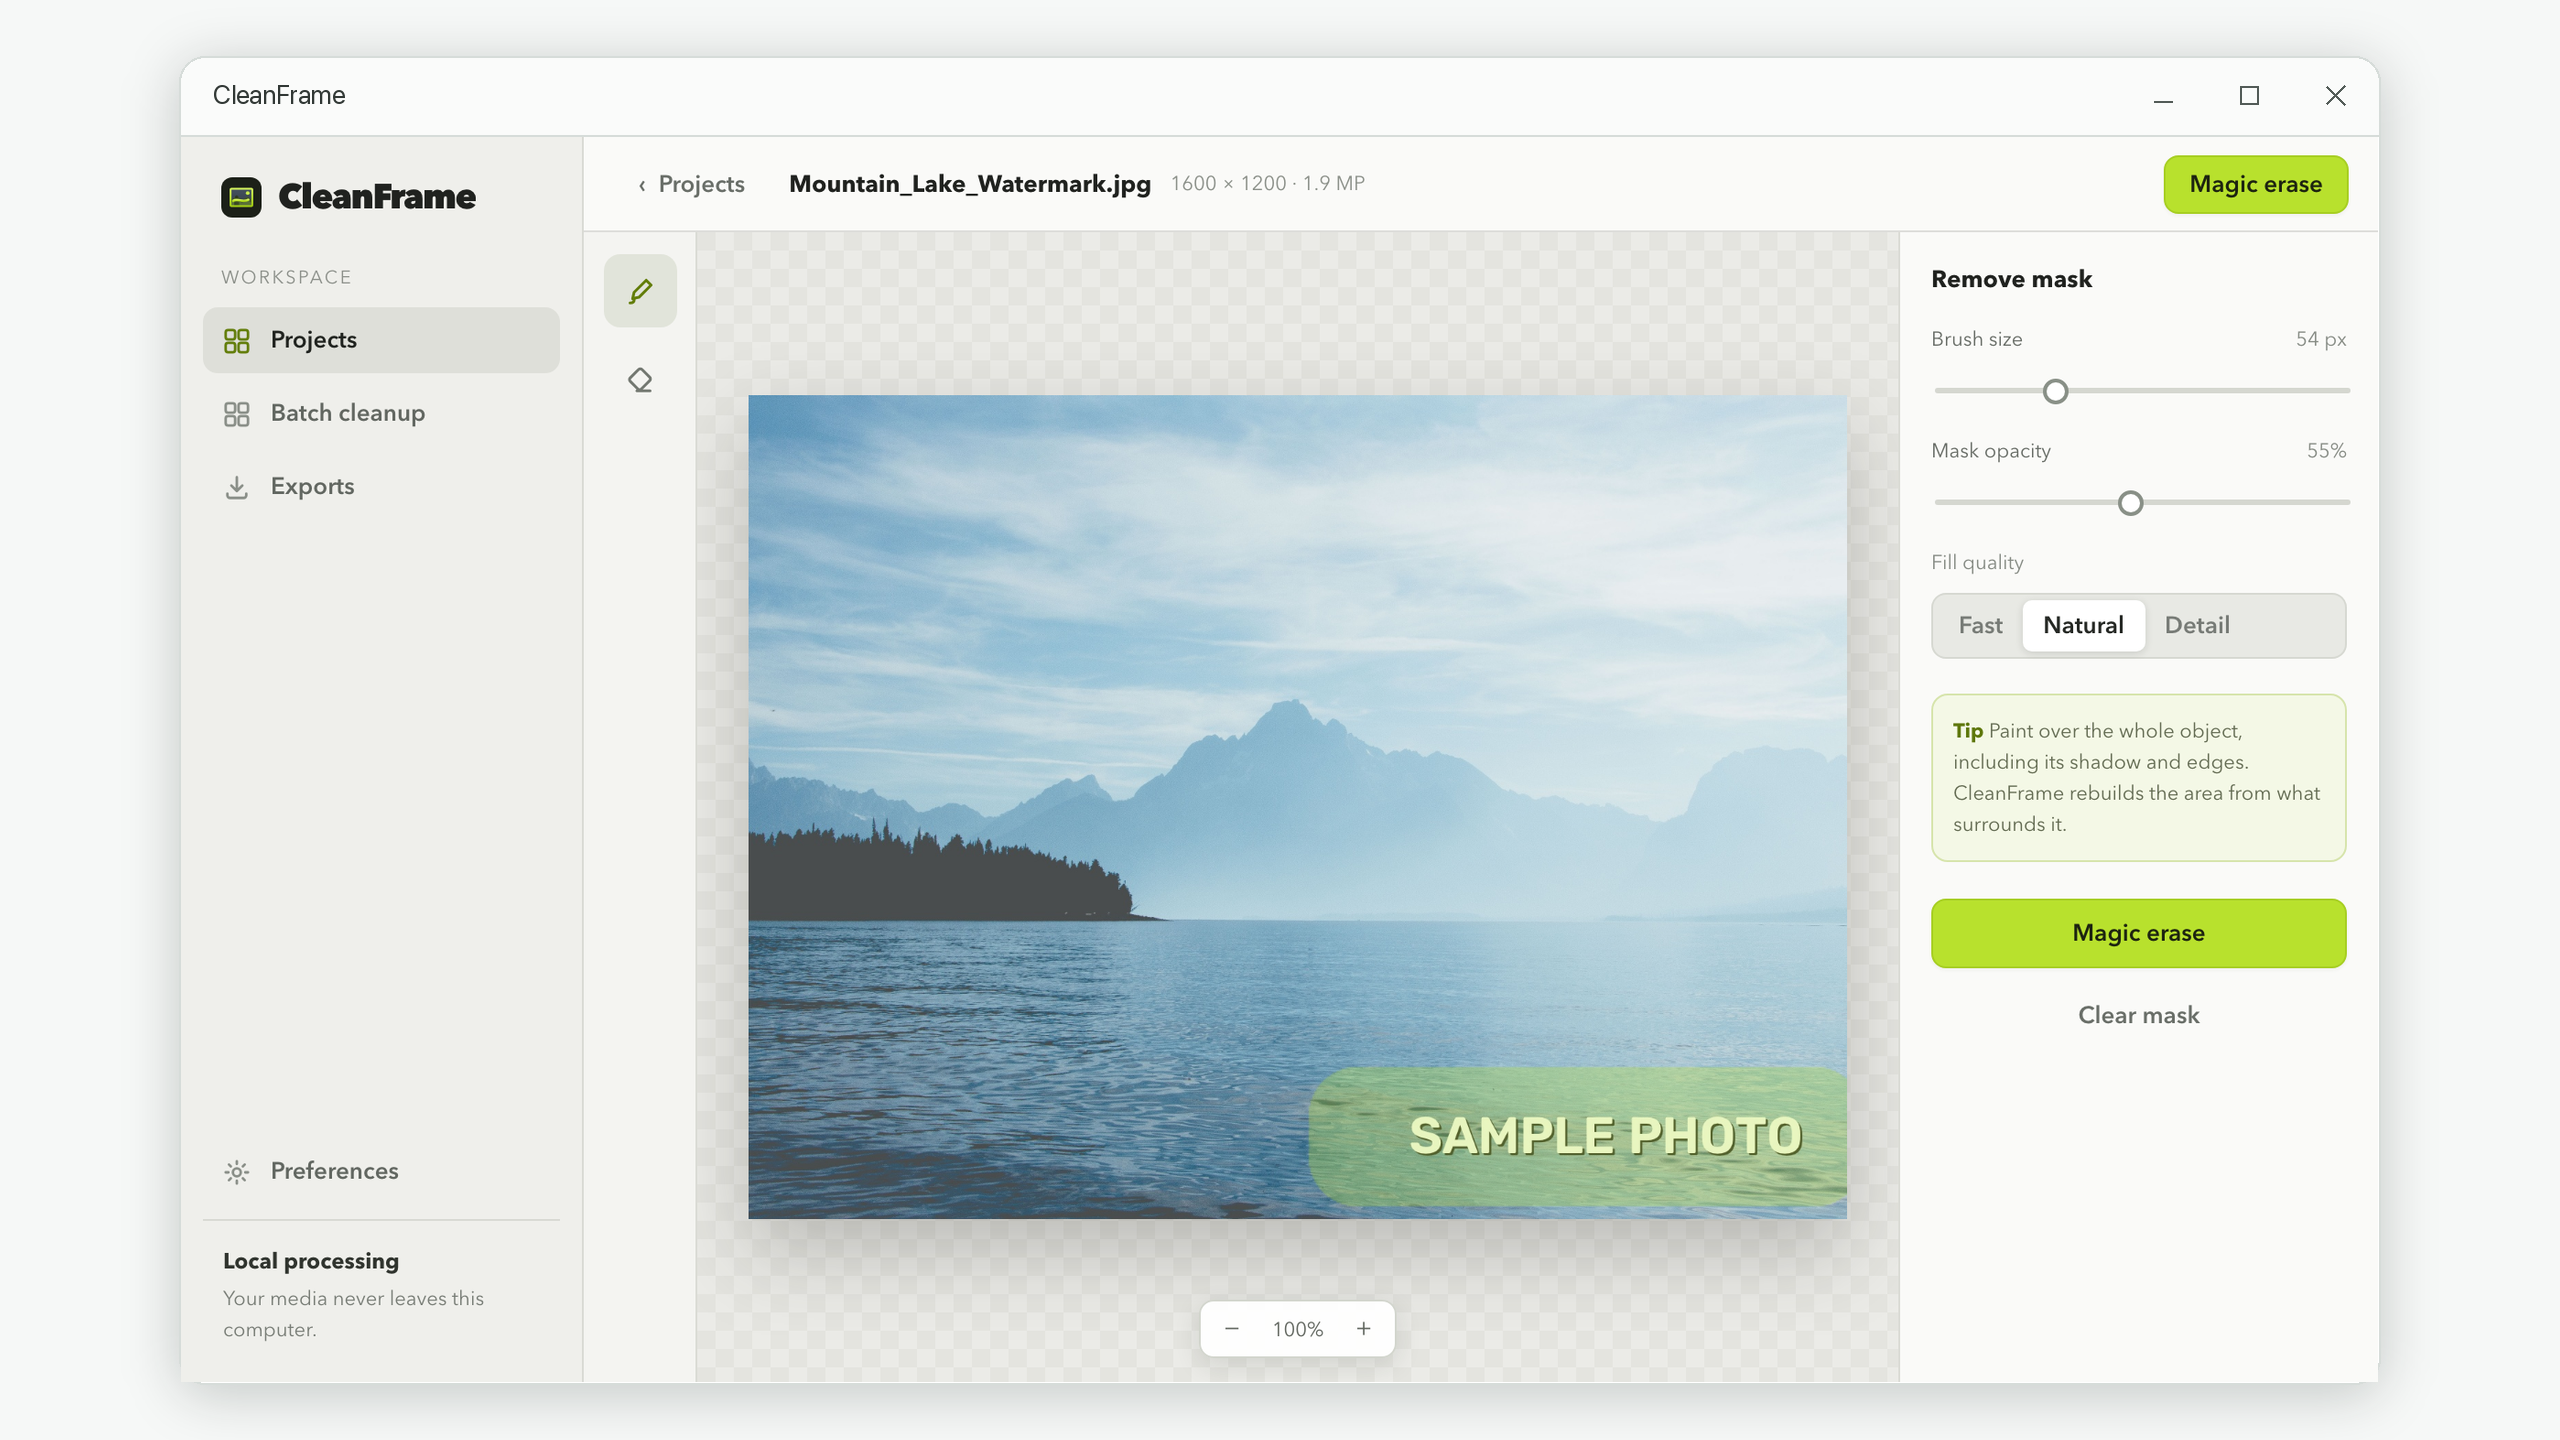
.jpg)
Check the background before accepting the result
A date over smooth sky or a plain wall has a different challenge from one over a railing, a patterned shirt, or a face. Check for a dark outline left behind, a soft patch, a repeated texture, or a broken line where the digits used to be.
If lettering remains, redraw the selection to include the missing edge. If too much background changes, tighten the selection. For a difficult fill, compare another quality level. The guide to blurry text removal explains how to diagnose those problems.
When you return with Remove another object, prepare the selection again on the original. If several separate marks need removing, include all required areas in that new selection rather than assuming the last preview becomes the next starting image.
What if every photo in an album has the same stamp?
Use batch cleanup if the date sits in a matching relative position across the album. First separate portrait and landscape photos and check whether different camera settings or later crops moved the stamp.
Paint a selection that covers the full stamp area, including dates with wider characters. The same selection is applied to the other images; CleanFrame does not detect the digits or follow a stamp that changes position. Review each result before saving the group.
See the step-by-step batch tutorial for grouping, processing, and export. The same principle applies to repeated visible date stamps.
Keep the original framing and choose a useful output
CleanFrame's cleanup does not crop away the selected corner. The exported image keeps its dimensions. Those unchanged dimensions do not mean the pixels behind the date are recovered perfectly; the selected region contains a generated replacement.
Use PNG when you want to inspect the result without adding JPEG compression, or choose JPG or WebP for a compatible delivery file. Open the export and check the cleared area at actual size before sharing or printing it.
For future pictures, look for a date imprint or timestamp option in the camera or capture app and disable it if you prefer clean images. Changing that setting helps with new photos; it does not remove a stamp already burned into an existing picture.
Keep the cleanup on your computer
Brush, compare, and save a separate result with CleanFrame for Windows.
View CleanFrame in the Microsoft Store