Start with the selection: cover every letter and its shadow, but avoid painting a much larger area than necessary. Compare the generated preview before changing export settings. If the preview is already blurry, saving it as PNG will not repair the fill.
Why a removed watermark can leave a soft patch
A visible watermark covers part of the picture. Removing it means filling that space using nearby colour, texture, and shapes. CleanFrame does not reveal a hidden, untouched layer underneath the text. It creates a replacement for the selected pixels.
That distinction matters. A small label over a smooth sky is easier to blend than a label crossing a fence, a face, or several rows of brick. The more distinctive detail the text covers, the less reliable the replacement may be. If you have an original without the watermark, it is the better starting point.
A very broad selection also asks the app to replace background that was already usable. Try a narrow margin around the complete watermark before selecting the entire corner.
Match the symptom to the next action
| Symptom | What to check | Next action |
|---|---|---|
| Faint letters or a dark outline remain | The selection may have missed a shadow, outline, or antialiased edge. | Repaint the full mark, including those edges. |
| A broad area looks smeared | The mask may cover more background than it needs to. | Reduce the brush size and redraw a tighter selection. |
| A line bends or a pattern breaks | The watermark crosses structure that is hard to reconstruct. | Try a careful selection and compare another quality level; use an unmarked original if available. |
| The preview looks good, but the saved file looks worse | Export format or later resizing may be affecting the image. | Export a PNG for comparison and inspect both files at the same display size. |
How to redraw a better selection in CleanFrame
- Return to the original. After viewing a result, choose Remove another object to return to the brush editor. Paint the complete selection again; do not assume earlier brush strokes remain.
- Zoom in on the watermark. Use the zoom controls in the single-image editor to see fine letter edges and the shadow around the mark.
- Use a smaller brush for the boundaries. Cover the entire text and a little surrounding edge. Avoid selecting a nearby face, horizon, product outline, or other important detail.
- Correct the mask with the eraser. The eraser corrects the selected area, rather than repairing the generated photo. Clear mask lets you start over.
- Generate a fresh preview. Choose Magic erase and inspect the same part of the picture again. If several unwanted objects must disappear together, include all of them in the new selection: a new preview is generated from the original source.

.jpg)
When to change the fill quality
Try Natural first, then compare Detail if the repaired area is difficult. Fast can be useful for checking a selection quickly. These settings change how the fill is produced; their names are not a promise that every complex texture can be restored.
Change one thing at a time. Redraw the mask, check the result, then try another quality level if needed. Otherwise it is hard to tell whether the improvement came from a better selection or a different fill.
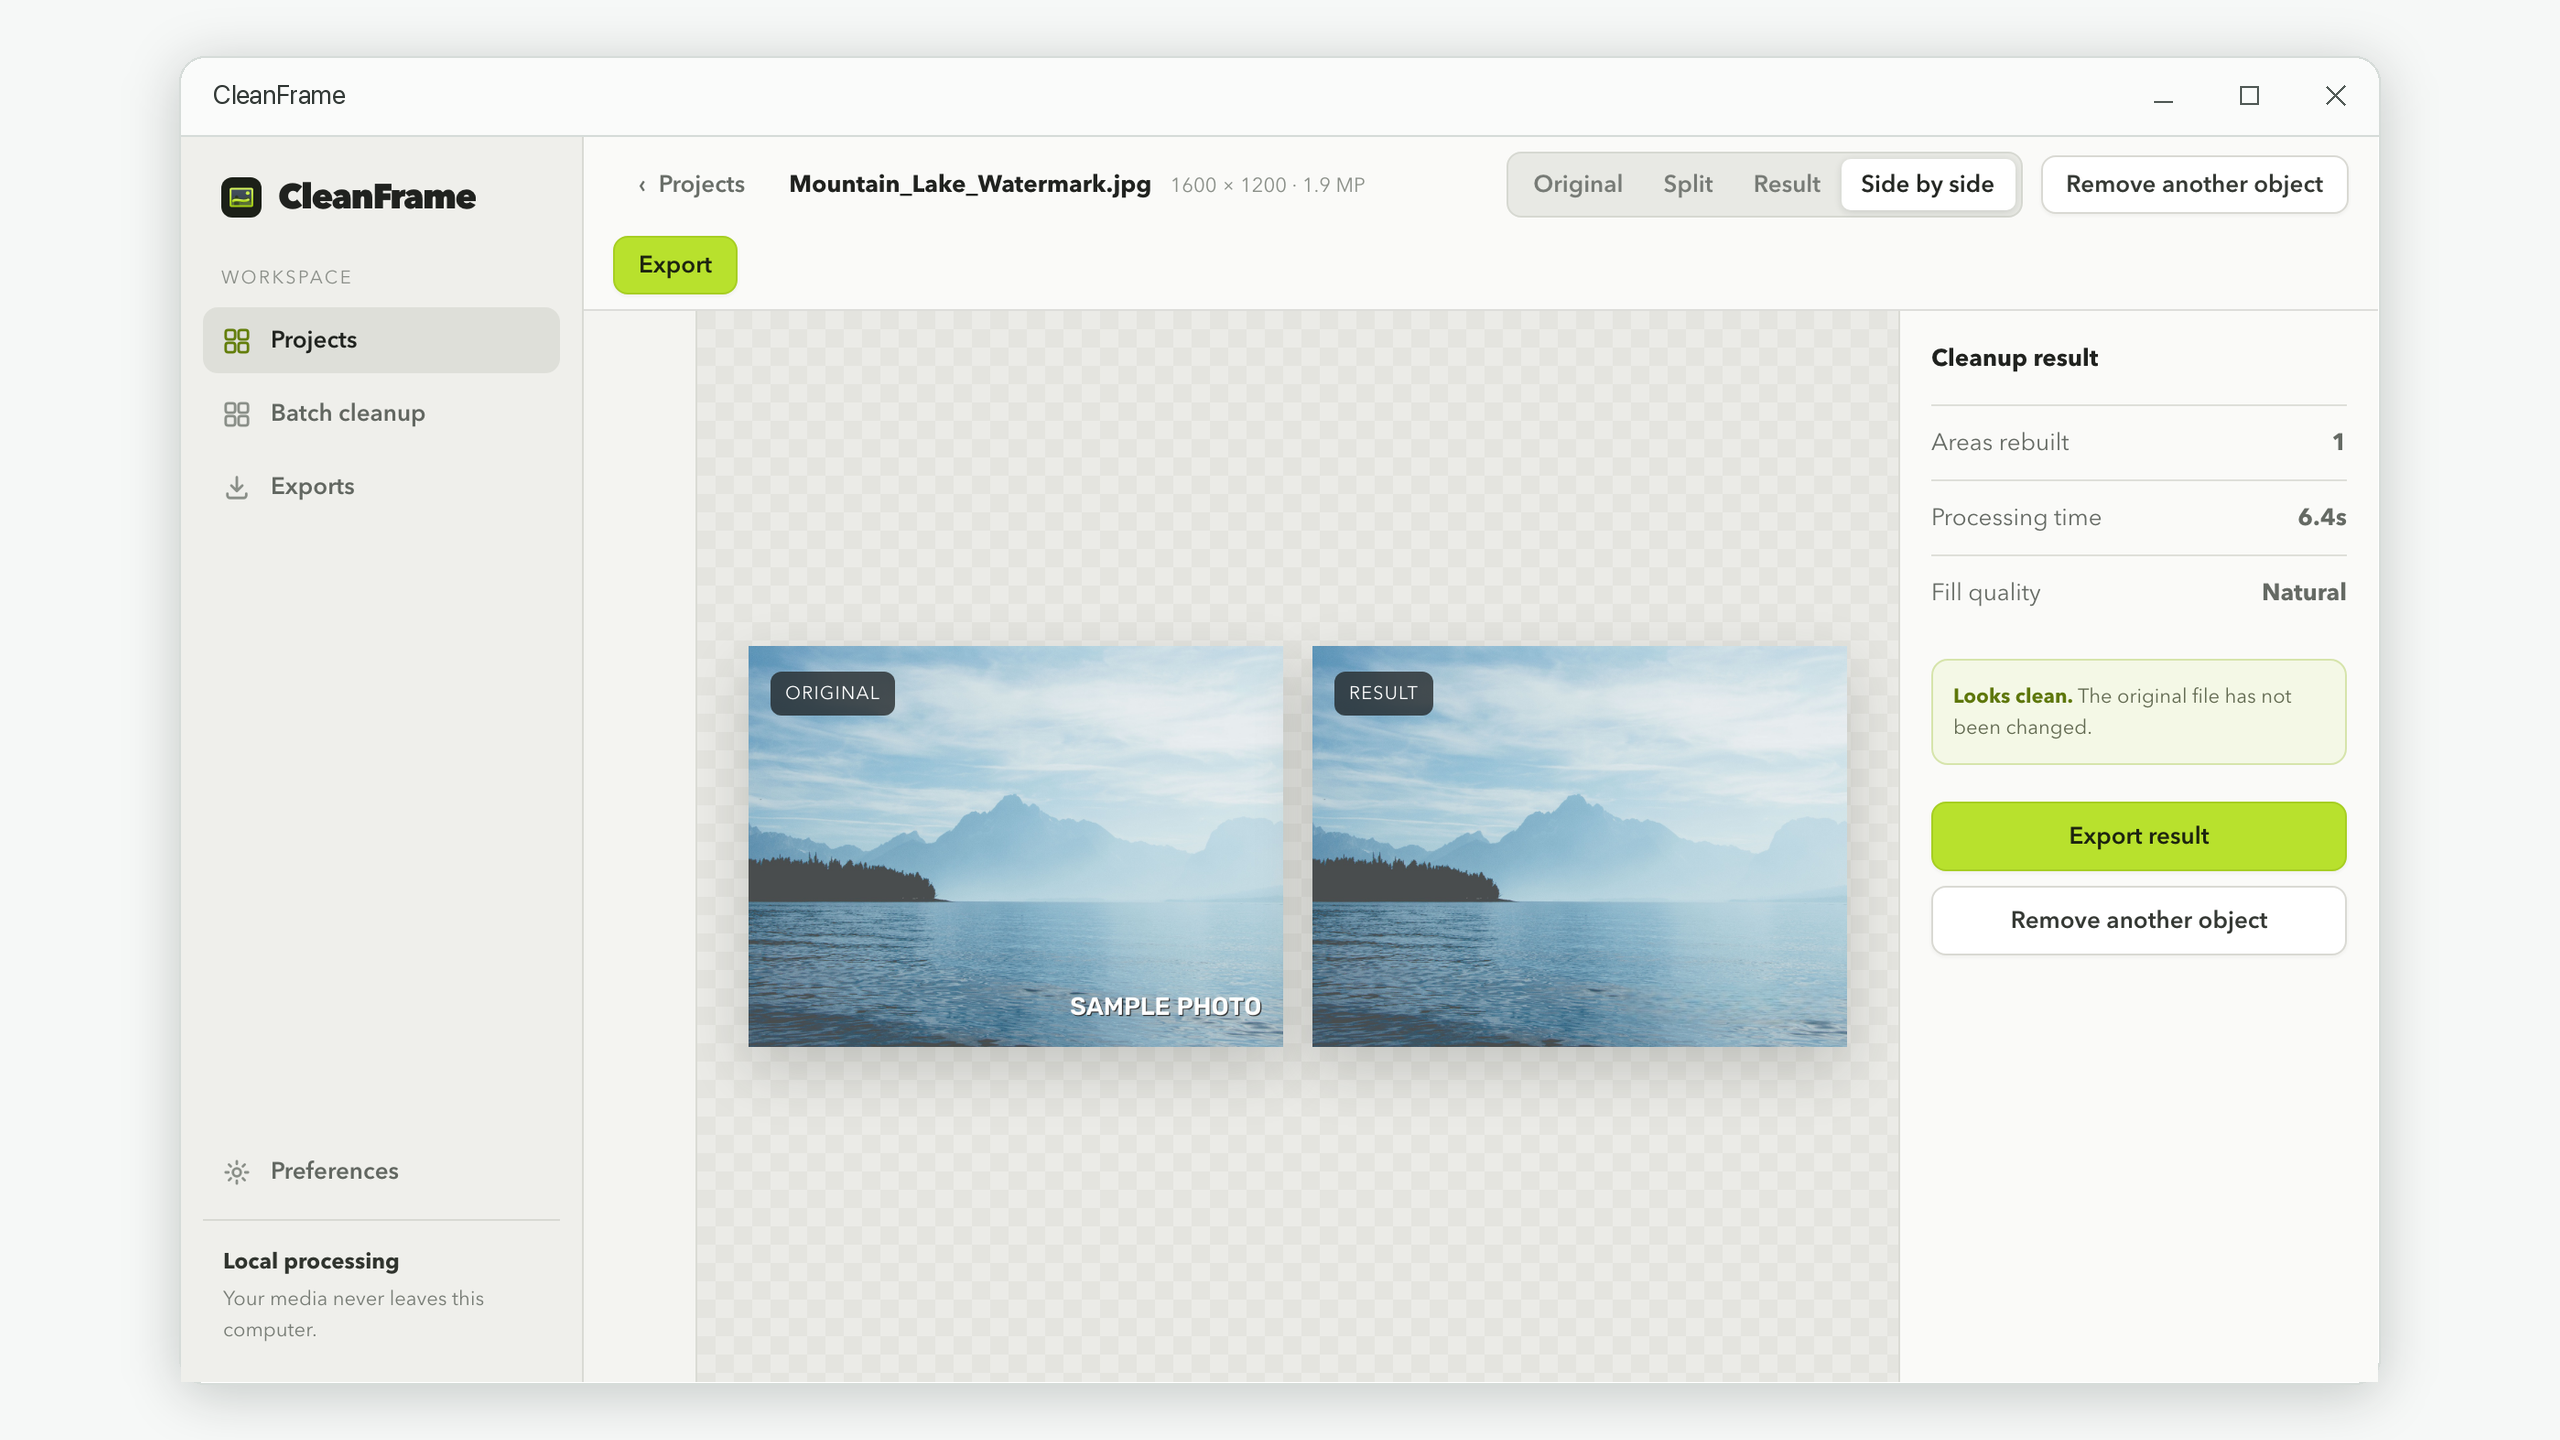
Separate fill problems from export problems
Compare the original and the result at the same viewing size. Enlarging one more than the other can make a normal difference in sharpness look like an editing failure. For a close check, export the result and open it in an image viewer at actual size.
A PNG export avoids adding JPEG compression to the generated result. It does not recover missing texture, increase the original resolution, or fix a blurry preview. JPG and WebP are other output options; choose a format suited to where you will use the photo.
Keep the exported master before resizing or recompressing it elsewhere. If another app changes its dimensions, compare that copy with the file directly exported by CleanFrame.
Know when to keep the original instead
If the watermark covers a person's features, fine lettering, or a distinctive object, the replacement may look plausible while being inaccurate. Use the unmarked source when available, or leave the original intact when the detail matters more than removing the mark.
For a repeated corner watermark, test a few representative photos before using the batch watermark removal workflow. A correct selection on one smooth background does not guarantee the same visual result on every image.
Keep the cleanup on your computer
Brush, compare, and save a separate result with CleanFrame for Windows.
View CleanFrame in the Microsoft Store